


Most small business owners should choose QuickBooks Online for its remote access and automatic bank feeds, reserving QuickBooks Desktop for businesses that need heavy local inventory tools or a networked office server. Either way, your first move is the same: gather your bank logins, customer and vendor lists, and pick a start date before you touch the software. The step-by-step process for both paths is below.
TL;DR:
- Connecting bank accounts with QuickBooks Online automates transaction downloads, but each miscategorized transaction can distort financial reports.
- A proper start date aligned with tax or loan deadlines prevents months of cleanup and errors in financial records.
- Managing permissions, backups, and user roles from the beginning protects data integrity and reduces long-term risks.
- Businesses managing complex inventory, remote workflows, or planning to add remote staff should consider Online to avoid migration hassles later.
- Hiring professionals for full setup ensures adherence to tax categories and correct balances, preventing costly corrective work later.
Table of Contents
- What to Gather Before You Begin QuickBooks Setup
- QuickBooks Online or Desktop: Which Fits Your Business?
- How to Install QuickBooks and Create Your Company File
- Setting Up Company Settings, Sales Tools, and Your Chart of Accounts
- Connecting Bank Feeds and Importing Your Lists
- Setting Up Sales Tax, Payroll, and Your First Reports
- Setting User Roles, Permissions, and a Backup Plan
- Your First Week After Setup and Where to Learn More
- Getting Comfortable With the Dashboard as a First-Time User
- KelliWorks’ Take: The Setup Mistakes We See Most Often
- How Kelliworks Handles QuickBooks Setup for You
- Where to Go for Step-by-Step Screenshots and Support
- Sources
What to Gather Before You Begin QuickBooks Setup
A rushed QuickBooks setup almost always leads to cleanup work later. Before you open the software or create an account, spend an afternoon collecting what you need so the process runs in one sitting instead of three.
Here’s the pre-setup checklist we recommend to every client:
- Online banking usernames and passwords for every business bank and credit card account
- Your three most recent bank and credit card statements
- Customer and vendor contact lists, plus a current price list for products or services you sell
- Payroll details if you run one: employee pay rates, tax withholding forms, and pay schedule
- A decided start date for your books, ideally the first day of your fiscal year
- For Desktop: confirmation your computer meets the system requirements and you have administrator rights; for Online: a stable internet connection
Skipping the start date decision is the most common delay we see. Pick it now, and the rest of setup moves faster.
QuickBooks Online or Desktop: Which Fits Your Business?
The core difference comes down to where your data lives. QuickBooks Online runs in the cloud, so you and your bookkeeper can log in from anywhere, and it updates automatically without you lifting a finger. QuickBooks Desktop installs locally on a computer or office server, which means you manage updates yourself but gain more control over advanced inventory tracking and industry-specific features.
Desktop tends to fit better when:
- Your team works from one physical office with a shared network
- You manage complex, high-volume inventory that Online’s tools don’t handle well
- You already rely on a Desktop-only add-on your industry depends on
Online tends to fit better when:
- You or your bookkeeper need to check the books from home, a job site, or a second location
- You want bank and credit card transactions to download automatically
- You’re running payroll for a small team and want it built into the same subscription
If you expect to collaborate remotely with an accountant, bookkeeper, or business partner, Online is the stronger long-term pick for most small businesses.
Pro Tip: Don’t choose Desktop just because it feels more “traditional.” If there’s any chance you’ll add a remote employee or contractor within the next year, start on Online and save yourself a migration headache later.
How to Install QuickBooks and Create Your Company File
Once you’ve picked an edition, the setup itself takes under an hour if you have your checklist ready.
For QuickBooks Online:
- Sign up on the QuickBooks website and verify your email address
- Walk through the initial Account and Settings prompts, entering your business name, industry, and fiscal year
- Confirm your subscription tier matches your needs (payroll add-ons can be adjusted later)
For QuickBooks Desktop:
- Download the installer and run the setup file
- Choose Express install for a single computer, or Custom and Network install if more than one person will access the file
- Launch QuickBooks and pick Express Start for a fast setup or Detailed Start to enter full company information up front
- Activate the software with your license number, then run any pending updates
Spend ten minutes clicking through the dashboard and main menus before entering real data. Getting comfortable with navigation now saves confusion later.
Setting Up Company Settings, Sales Tools, and Your Chart of Accounts
This is the part of QuickBooks setup that determines whether your reports actually mean something come tax time. Start with the basics: enter your legal business name, address, and logo so invoices look professional and match your business records.
From there, work through these settings:
- Sales settings: define default invoice terms (Net 15, Net 30), add your products or services, and set accepted payment methods
- Expense settings: decide whether vendor bills need approval and turn on billable expense tracking if you rebill clients for costs
- Chart of Accounts: build out accounts for income, cost of goods sold, operating expenses, and equity, mapping each to the tax category it belongs under
- Classes or locations: turn these on only if you track profitability by department, project, or store location
A correctly mapped Chart of Accounts at the start saves real time during your monthly close and when your tax preparer requests reports.
Connecting Bank Feeds and Importing Your Lists
Linking your bank and credit card accounts is what makes QuickBooks feel automatic instead of manual. Once connected, transactions download daily into a Pending tab, where you review each one before it posts to your books.
Don’t approve transactions in bulk without checking them first. A single miscategorized deposit can throw off your profit and loss report for the whole month.
- Set up Bank Rules once you notice repeat vendors or transaction types, so future entries categorize themselves
- Import customer, vendor, and product lists using QuickBooks’ CSV or Excel import tool rather than typing each one manually
- Use your chosen start date to enter opening balances as single lump-sum entries instead of recreating every historical transaction
Pro Tip: If you’re migrating years of transaction history from spreadsheets or another system, get a bookkeeper involved before you import. Opening balance errors are the hardest mistakes to trace once they’re buried under months of activity.
Setting Up Sales Tax, Payroll, and Your First Reports
Sales tax and payroll settings affect nearly every transaction you’ll enter, so configure them before you start invoicing.
Turn on sales tax under your company’s tax settings, then add the tax agencies you collect for and set your filing frequency (monthly, quarterly, or annual, depending on your state’s requirement). If you’re running payroll, QuickBooks will ask for employee pay rates, withholding elections, and pay schedule; getting this right the first time avoids corrected paychecks later.
Once the basics are in, run these three reports to confirm everything lines up:
- Profit and Loss to check that income and expense accounts are categorizing correctly
- Balance Sheet to confirm your opening balances match your actual bank and loan statements
- Trial Balance to catch any account that’s out of balance before you file your first tax return
Mapping every account to the right tax category now means fewer surprises when your accountant pulls year-end numbers.
Setting User Roles, Permissions, and a Backup Plan
Every person who touches your books doesn’t need the same level of access. Assign one primary admin, then create limited roles for employees who only need to invoice customers or enter bills.
- Follow the least-privilege rule: give access to what someone’s job requires, nothing more
- Turn on two-factor authentication for QuickBooks Online admin accounts and require strong, unique passwords for Desktop
- Schedule automatic backups for Desktop company files and export periodic copies of Online data for your own records
- Keep at least one backup stored offsite or in a separate cloud location in case of hardware failure
Pro Tip: Set your backup reminder for the same day each week. A missed backup rarely matters until the one week your hard drive fails.
Your First Week After Setup and Where to Learn More
Setup is finished, but the real work starts once transactions start flowing in. Use your first week to build habits that carry the rest of the year.
- Reconcile your first bank statement against what’s recorded in QuickBooks
- Post any outstanding customer invoices and record payments received
- Double check payroll settings against your first pay run before submitting it
- Decide who handles daily transaction review, weekly reconciliations, and monthly reporting
For deeper how-to walkthroughs, Intuit’s own support library covers most in-product questions step by step. For guidance tailored to your specific setup, our bookkeeping best practices resource walks through cadence and task assignment in more detail. If your books involve multiple entities, complex inventory, or a recent business change, a QuickBooks ProAdvisor or virtual accounting team can shortcut the learning curve considerably.
Getting Comfortable With the Dashboard as a First-Time User
QuickBooks throws a lot of information at you on day one. The dashboard shows income, expenses, invoices, and bank balances all at once, and it’s easy to feel like you’re missing something important buried in a menu somewhere.
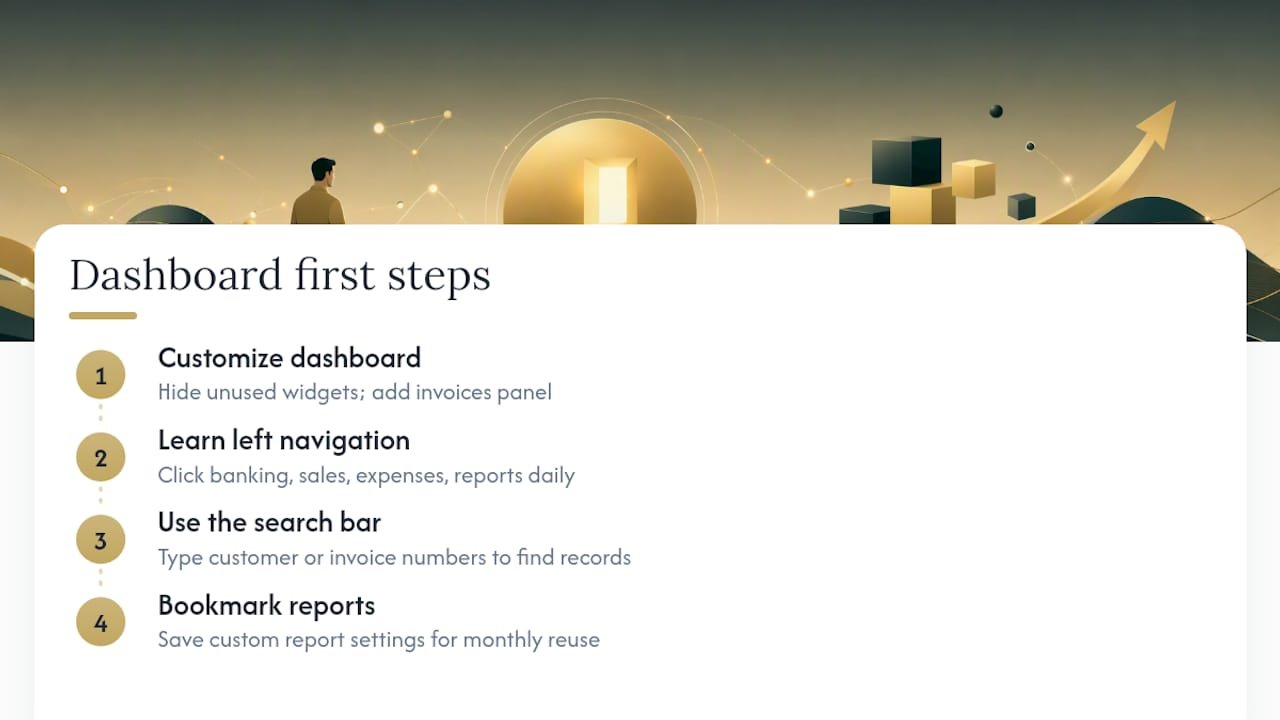
Start by customizing what you actually see. Both Online and Desktop let you rearrange or hide dashboard widgets. If payroll doesn’t apply to your business yet, remove that panel and add one for outstanding invoices instead. A dashboard cluttered with features you don’t use just makes it harder to spot the number that actually matters that day.
Learn the left-side navigation menu before anything else. Every version organizes around the same core categories: banking, sales, expenses, and reports. Spend five minutes each day for the first week clicking through each one, even if you have nothing to enter yet.
Use the search bar liberally. Typing a customer name or invoice number is almost always faster than hunting through menus, especially once your transaction history grows.
Finally, bookmark the reports you check most often. QuickBooks lets you save custom report settings, so you’re not rebuilding the same Profit and Loss filter every month. Small habits like these are what separate business owners who dread opening QuickBooks from those who check it like they’d check email.
KelliWorks’ Take: The Setup Mistakes We See Most Often
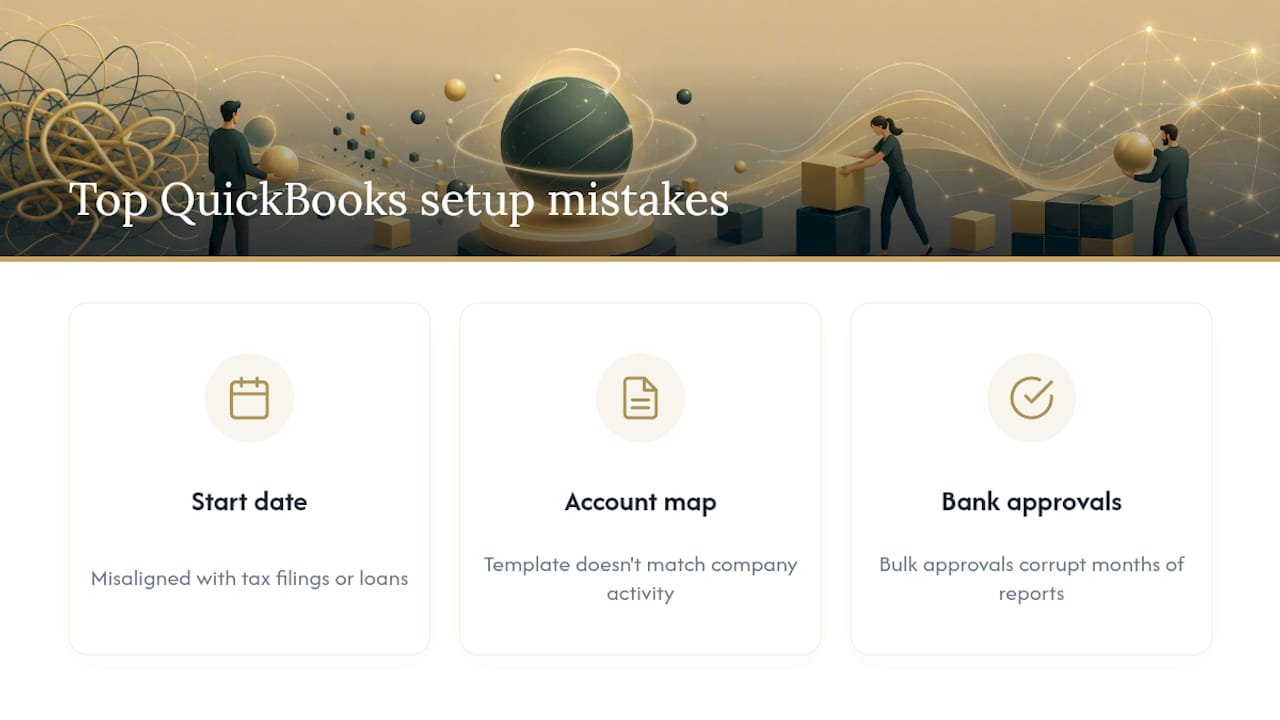
Three mistakes account for most of the QuickBooks cleanup work we get called in for. The first is an arbitrary start date, chosen without thinking through how it lines up with tax filings or loan covenants. The second is a Chart of Accounts copied from a template that doesn’t match how the business actually earns or spends money. The third, and most common, is approving bank feed transactions in bulk without reviewing them, which quietly corrupts months of reporting before anyone notices.
None of these mistakes are the software’s fault. QuickBooks is only as accurate as the decisions made during setup, and those decisions are easy to get wrong when you’re doing this for the first time while also running a business.
When we take on a setup engagement, we build the Chart of Accounts around the business’s actual tax categories, enter opening balances as clean lump sums tied to a defensible start date, and set permissions so no one accidentally edits reconciled transactions. It’s the difference between a QuickBooks file that tells you the truth and one that just looks organized.
— Kelli
How Kelliworks Handles QuickBooks Setup for You
If reading through installation types, Chart of Accounts mapping, and opening balance rules made your afternoon feel a little longer than expected, that’s the exact reason business owners hand this part off. Kelliworks builds your entire QuickBooks setup for you, correctly, the first time, so you never have to pay a bookkeeper later to untangle a start date that never made sense.

A typical setup engagement covers the company file build, a Chart of Accounts designed around your actual tax categories, entry of opening balances tied to a clean start date, and user roles set up with the right permissions from day one. If you’re a solo operator with simple transactions and a few hours to spare, doing it yourself with this guide is entirely reasonable. If you’re managing inventory, payroll, multiple users, or you just don’t have the time to get it exactly right, hiring it out saves far more in cleanup costs than it costs upfront.
Visit our virtual accounting department page to see what a setup engagement includes, or reach out directly to request a consultation and get your books built correctly from the start.
Where to Go for Step-by-Step Screenshots and Support
For official installation and setup walkthroughs, visit Intuit’s get started guide. For hands-on help tailored to your business, explore Kelliworks’ bookkeeping resources.
This article is general information, not a substitute for advice from a qualified financial advisor. Consult a qualified financial professional about your own circumstances before acting on anything here.
Sources
- Get started with QuickBooks Online – Intuit
- Install QuickBooks Desktop – Intuit
- Create a QuickBooks Desktop company file – Intuit